Create a simple Microservices backend using nodeJS, Python, and rabbitMQ
Learn how to queue tasks with rabbitMQ and celery


Introduction
In recent years, Microservices architecture has gained huge popularity in the software industry due to its ability to develop complex applications that are scalable, maintainable, and easily deployable. It is a way of building software systems as a set of small, independent, and decoupled services that work together to accomplish a larger goal.
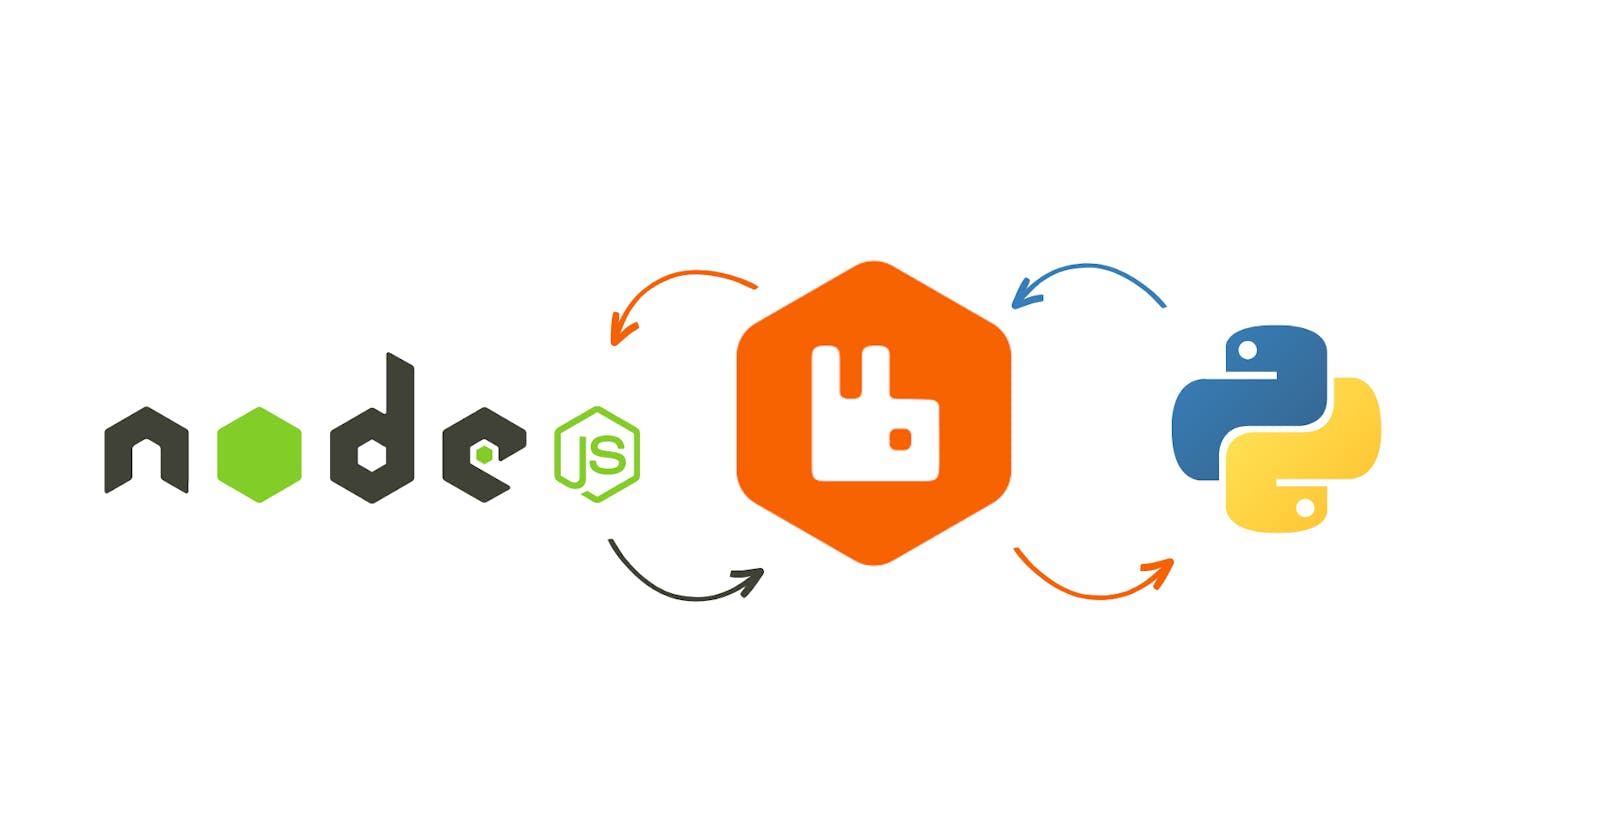
In this blog, we will explore how to create a very simple Microservices app by applying the task queue concept using NodeJS, Python, and RabbitMQ. We will walk through the steps of building an application that uses multiple services written in different languages and how they communicate with each other through RabbitMQ.
Before we start, you can find this project on my GitHub. Now let's get started.
what does 'Queueing tasks' mean?
Queueing tasks is the process of placing tasks in a queue and processing them in sequential order. tasks are added to the end of the queue and are processed in a First-In-First-Out (FIFO) order. This means that the task that was added to the queue first will be the first one to be processed, followed by the next one in the queue, and so on.
And here is where RabbitMQ comes in. RabbitMQ is an open-source message broker that implements the Advanced Message Queuing Protocol (AMQP). RabbitMQ works by receiving and storing messages from producers and delivering them to consumers. It acts as an intermediary between applications, allowing them to communicate with each other. In this example, the NodeJS app will be the producer (queues tasks), whereas the python celery app is the consumer (executes tasks).
Implementation
Part 1: Setup project files
1- Create a project directory and move inside it.
mkdir node-python-amqp-microservice
cd node-python-amqp-microservice
2- Create a backend directory and a python_celery directory.
mkdir backend python_celery
3- Move inside python_celery and let's create a python virtual environment.
cd python celery
python3 -m venv venv
4- Activate the virtual environment and the install celery package.
source venv/bin/activate
pip3 install celery
5- Now get back to the main directory and go inside the backend directory, then install express and amqplib.
cd backend
npm install --save express armqplib
6- Now everything is set up, let's start with python celery app.
Part 2: Configure python celery
1- First, go inside the python_celery directory
2- Create an app.py file and add the following:
from celery import Celery

app = Celery('python_celery',broker='amqps://',task_serializer='json')
First, we will initialize the celery app using Celery class. This class will take 2 parameters.
app name: which is "python_celery" in our case
broker: For this one, you either run rabbitMQ on your local machine, or create an account on Cloudampq, create a new instance, and then copy the broker URI and paste it here.
3- Then in the same file, We will create a task and call it asyncTask, and register it to celery.
@app.task(serializer='json')
def asyncTask(message):

    # Add your code here

    print(f"Task is Recieved: {message} from the backend")
    return
Celery tasks are a way of executing asynchronous code. You can add whatever code you want to execute a heavy task, for example; scraping, sending email, video processing, etc. This function will be triggered by a producer, which is our backend in this case, and Then this code will be executed asynchronously in the background.
4- Now to start the celery app, run the following command in the terminal.
celery -A app worker --loglevel info
Then you should get the following:
-------------- celery@Hassan v5.2.7 (dawn-chorus)
--- ***** -----
-- ******* ---- macOS-12.5.1-x86_64-i386-64bit 2023-03-16 23:04:56
- *** --- * ---
- ** ---------- [config]
- ** ---------- .> app:         scraper:0x111c4e1d0
- ** ---------- .> transport:   amqps://
- ** ---------- .> results:     disabled://
- *** --- * --- .> concurrency: 8 (prefork)
-- ******* ---- .> task events: OFF (enable -E to monitor tasks in this worker)
--- ***** -----
 -------------- [queues]
                .> celery           exchange=celery(direct) key=celery


[tasks]
  . app.asyncTask
5- Now our celery app is ready to execute tasks. Keep it running, and Let's start building our backend.
Part 2: Build nodeJS backend
1- Go into the backend directory
2- create a celery.config.js file, and add the following:
const amqp = require('amqplib');

class Celery{

    connect = async () => {
        const connection = await amqp.connect('amqps://');
            this.channel = await connection.createChannel();
        }
}

const celery = new Celery()

const init = async () => {
    await celery.connect()
}
module.exports.init = init
module.exports.celery = celery
We will first create a Celery class, with a method, called connect. This method will be responsible for establishing a connection between our NodeJS backend and our running RabbitMQ server, by providing a broker URI. Then it will create a channel object and assign it to a channel variable. We will use this channel object later to publish messages to our queue.
The init function will be responsible for initializing the connection whenever the backend starts running.
3- Now, in order to call the task that we specified in our python celery app:
We should first publish a message from NodeJS to a queue on our RabbitMQ server.
This message should follow a specific format with headers and properties so RabbitMQ passes the message to our celery app.
By checking message headers, celery can tell which task are we triggering, and what arguments are we passing to this task.
Then it passes this task to a worker process, and the process finally executes the task.
Now to apply those steps, create a task.js file and add the following:
const { celery } = require('./celery.config')


async function delayQueuedTask() {

  const queueName = 'celery';
  const taskName = "app.asyncTask"

  const headers = {
    'task': taskName,
    'id': 'a855b247-8394-4be3-b744-98fa900efcdb',
    'lang': 'py',
    'argsrepr': '',
    'kwargsrepr': '{}'
  }

  const body = {
    args: [],
    kwargs:{"message":"Hey Celery!"}
  }

  const options = {
    headers:headers,
    contentType:'application/json',
    contentEncoding:'utf-8',
    deliveryMode: 2

  }
  await celery.channel.assertQueue(queueName);
  await celery.channel.publish('',queueName, Buffer.from(JSON.stringify(body)), options);

}

module.exports = {delayQueuedTask}
First, we will define the queue name, which is celery by default. Then the headers of the message, headers should contain information like task name, task id, and so on.
Then we specify the body. Which should contain *args arguments and **kwargs keyword arguments we want to pass to the task.
Then we add the headers to the options object, with content-type/encoding information.
Finally, we publish this message to the queue.
4- and now for the final step, let's create an app.js file to run the server.
const {delayQueuedTask} = require('./tasks');
const express = require("express");
const celery = require("./celery.config")


// Initialize Express
const app = express()


app.get("", async (req, res)=> {

    try{
        await delayQueuedTask()
      return res.json({"Message":"task queued, check celery logs!"})
    } catch(err) {
        console.log(err)
    }
})


celery.init().then(() => {
    app.listen(8000)
  }).catch(err => {
    console.log(err)
  })
The simple route is just to call the delayeQueuedTask function to publish the message.
5- Run the server.
nodemon app.js
6- Now, let's test our app.
Part 3: Test our project
1- Keep both of the apps running, and hit a request from your browser to your localhost http://localhost:8000/
2- Check your celery terminal logs, you should that the task is executed.
Congrats!! Now you created your first microservices apps using Python, NodeJS, and RabbitMQ
Conclusion
In conclusion, i tried to give you a brief explanation of how to build a simple microservices app, and how to apply the task queue concept on NodeJS and python. I hope this tutorial has benefited you. If it did, you can take this blog as a reference to using those approaches in your apps. Thank you for your time, and don't forget that You can find this project on my GitHub. Good luck :)